Customizing Reports and Graphs
Reports and graphs can be customized in several ways.
1. You can customize the logo graphic shown in each report and graph. The default graphic is the logo.jpg file located in the \Logo subdirectory. You can either overwrite this graphic with your own logo or edit the TrackerReporter.exe.config file and put in your file name instead of logo.jpg (other graphic extensions like .gif and .png are acceptable). The file must be located in the \Logo directory. The relevant section of the file is shown below.
<setting name="LogoName" serializeAs="String">
<value>logo.jpg</value>
</setting>
This graphic shows the default logo:
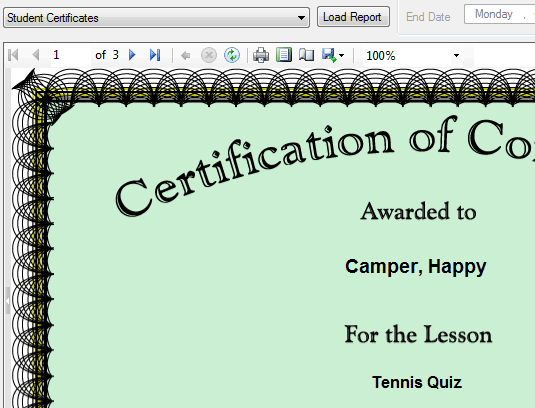
2. The certificate reports use either the course or lesson certificate graphic. This is also located in the \Logo subdirectory. Again, you can either overwrite the existing file or edit the TrackerReporter.exe.config file. The relevant sections are shown below.
<setting name="Certificate_Course" serializeAs="String">
<value>certificatecourse.gif</value>
</setting>
<setting name="Certificate_Lesson" serializeAs="String">
<value>certificatelesson.gif</value>
</setting>
This graphic shows the default lesson certificate graphic:
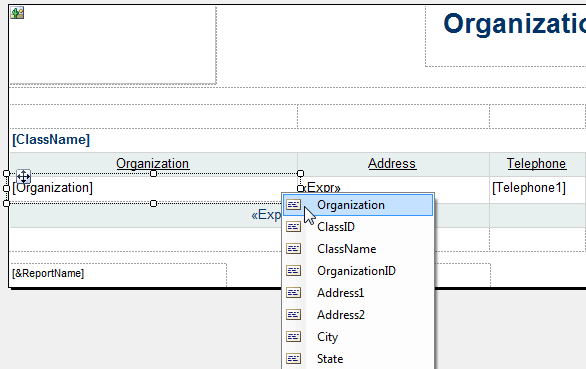
3. Using a editor like Visual Studio (preferably) or even Notepad, you can customize the reports and graphics. They are located in the \Reports and \Graphics subdirectories and organized by type (Classes, Organizations, Courses, Lessons, and Students). The graphic below shows the development environment in Visual Studio. Note that the lists of reports and graphs in Tracker Reporter are built dynamically. So if you create a new .rdlc file in one of these directories, Reporter will display it in the appropriate list.
4. If you need additional information for a report or create a new report, you'll need to edit or create the associated query. These files are located in the \Queries subdirectory and again are organized by type (Classes, Organizations, Courses, Lessons, and Students). The query file is typically the name of the report minus any spaces, characters like -, and the word Pie. You can tell for sure by looking at the DataSet name within the .rdlc file as shown below.
<DataSet Name="OrganizationAssignments">
If you create a new report based on existing report or graph, you will need to edit the DataSet name and create the query file to match. Within the query file, there are some placeholders as shown in the query:
SELECT Tracker_Classes.ClassID, Tracker_Classes.ClassName, Tracker_Organizations.OrganizationID, Tracker_Organizations.Organization,
Tracker_Organizations.Address1, Tracker_Organizations.Address2, Tracker_Organizations.City, Tracker_Organizations.State,
Tracker_Organizations.ZipCode, Tracker_Organizations.Country, Tracker_Organizations.Telephone1, Tracker_Organizations.Telephone2,
Tracker_Organizations.Fax, Tracker_Organizations.Email, Tracker_Organizations.Web
FROM Tracker_Classes INNER JOIN
Tracker_OrganizationClassAssignment ON Tracker_Classes.ClassID = Tracker_OrganizationClassAssignment.ClassID INNER JOIN
Tracker_Organizations ON Tracker_OrganizationClassAssignment.OrganizationID = Tracker_Organizations.OrganizationID
{0}
ORDER BY Tracker_Classes.ClassName, Tracker_Organizations.Organization
{0} can be an IN() clause such as: Tracker_Lessons.LessonID IN (3,4)
{1} reflects the selected starting date.
{2} reflects the selected ending date.
{3} is potentially an " AND " clause so that both the dates and the students/lessons/courses/classes/organizations are limited.
{4} is a WHERE clause if there is not already one there.